Turning our Wedding Sign into a Staple in the Play Room (DIY Magnetic Chalkboard)
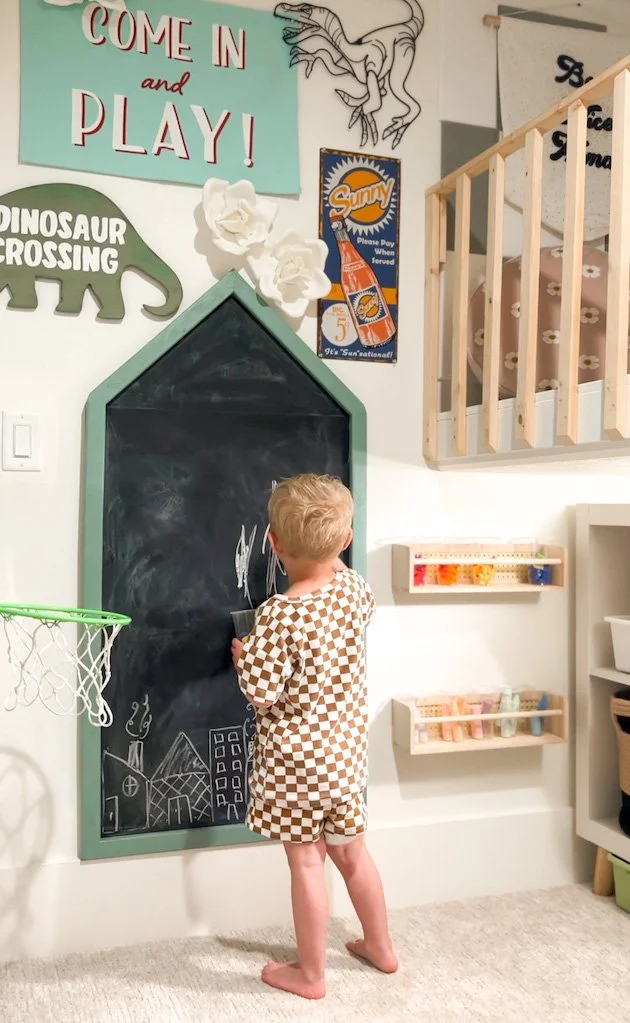
I recently made a DIY magnetic chalkboard in the shape of a house for my kids' playroom. The best part? I used only items I already had at home! Here's how I did it:
First, I took a metal sheet out of a frame that I thrifted years ago and used as a sign at our wedding. (Major 2017 vibes here.) The sheet was rectangular, so only the lower portion is magnetic, but I didn't mind - it still worked perfectly for what I wanted to do…and the kids don’t mind either.
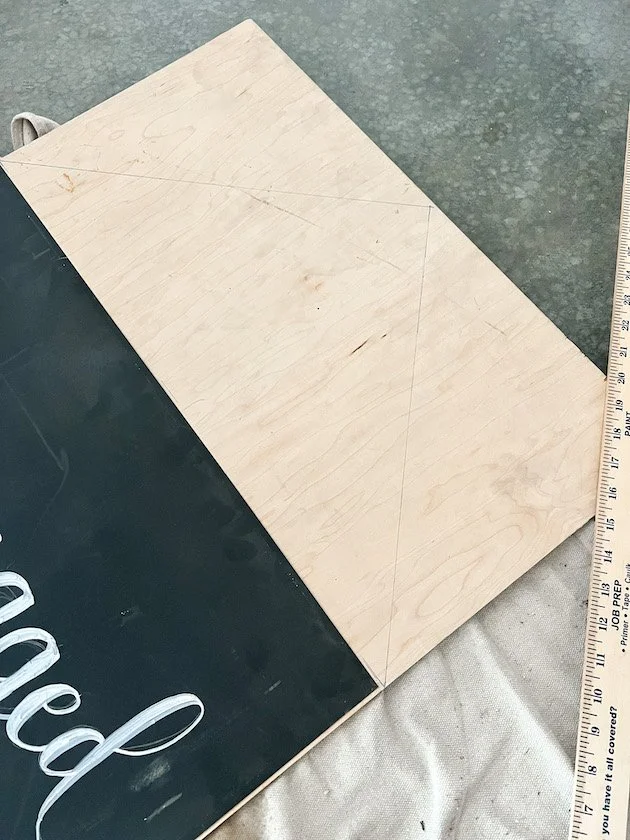
Next, I had a piece of plywood that happened to fit the width of the metal sheet so i only had to make two straight cuts to give it the house shape I was going for. I then sanded the metal sheet and plywood with 80 grit followed with 220 grit sandpaper. I then went in with white primer on both pieces. Once the primer was dry, I sprayed them both with black spray paint left over from another project.
Then, I applied a clear chalkboard finish to the painted plywood and metal sheet and set them aside to dry.
To attach the metal sheet to the front of the plywood, I used liquid nails and clamped it in place until it was dry (about 24 hours). Make sure you prime the chalk board paint after it is dry by rubbing a piece of chalk sideways over the entire piece and wiping it off.
Finally, I added furring strips to the edges of the plywood to create a frame and give it a more finished look. The angles at the top gave me a bit of a hard time but I eventually came up with something that worked. I used my brad nailer and wood glue to hold the frame together. I did use some spackle to fill a few holes and cracks that formed from the nailing process.
I painted the frame with the same color green that I used on some of the climbing holds on another wall in the play room (Matte Pale Sage-Krlyon Fusion from Lowe’s). I had to buy a hanging kit from Lowe's, but that was the only thing I had to purchase!
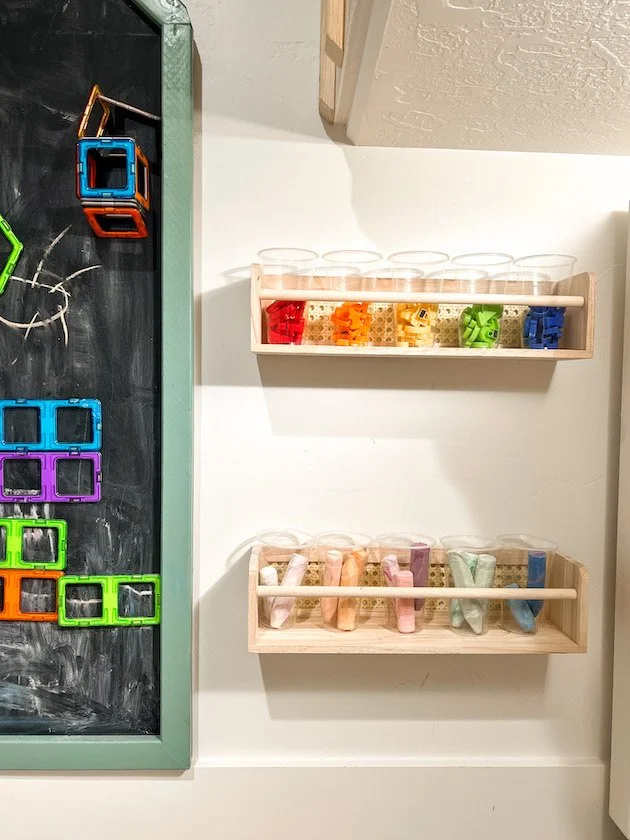
As soon as it was hung both of our kids got right to work making their masterpieces. I made sure to have a spot to store the chalk and magnetic letters-I went with these Bullseye Playground shelves for $5 each from Target!
This is a beginner friendly DIY with a big pay off with the kiddos :)
One of the best things about this project is that I was able to repurpose our sentimental wedding sign and turn it into something functional and fun for my kids to use. And since I used items I already had at home, it was also an extremely affordable project.
If you're looking for a simple DIY project to add some creativity and fun to your kids' playroom or bedroom, I highly recommend making a DIY magnetic chalkboard. It's a great way to repurpose old items and create a unique and personalized space for your little ones to play and learn. To really simplify this project you could just thrift a frame and use the chalkboard paint directly on it!
Next up in the play room we will be adding wall paper and paint to the board and batten wall!
You can see my reel about the repurposed chalkboard here.
Follow us on instagram! @idahomerealestate
Please reach out with any real estate questions!
Brandon and Jess DesFosses
Pocatello, ID Realtors
(208) 241-6205
HomeSmart Premier Realty | Idahome Real Estate


