How to DIY a Black Beaded Chandelier
We’ve all seen them, we all love them…all of the beaded chandeliers we are pinning and drooling over are show stoppers for sure. Some of the smaller natural wood ones are quite affordable (like this and this and this), but if you're like me you really have your eye on the over sized beaded chandelier that’s black! At the price of $800+, and after seeing this tutorial from The House That Lars Built, I felt inspired to give it a go at DIY’ing my own black wood bead chandelier.
Supplies I Used:
Wood Beads (I got 4 packs of these from Amazon)
Black Rit Dye (I bought 2 boxes)
Hanging hardware (I thrifted mine but something like this is perfect)
Lampshade Ring (Mine was thrifted)
Wood glue, super glue, and E6000
A needle to thread the beads (I ended up using some ornament wire and liked that better than an actual needle)
I headed to my local Habitat for Humanity REstore and picked up an old lampshade for $8 and the hanging pendant fixture hardware for $3! I took the fabric off of the lampshade and used the top ring as my outer ring for my hanging beads. I did have to use some goof off to get the old glue off. Please note my lampshade ring is 17” in diameter so you may need to adjust my pattern if yours differs in size.
Once I had all my supplies, I began dying my beads. At first I combined all sizes of beads in my big stainless steel sink as well as water and the powdered RIT dye (Follow the instructions on the box), stirred until I felt like they had taken as much color as they could, then spent the next hour sorting through every single bead until they were all in piles according to their sizes. I decided it was much easier to do one size at a time after that. I strained the beads and spread them out to dry on 6 paper towels. You will notice that they will turn more blue as they dry but that’s okay because you will blast them with some matte black spray paint at the end. 😁
Below is the pattern I used when stringing my beads. Please note the color chart for each size of bead. The numbers below the colors indicate how many of each bead I used on that strand. I did 12 of each strand for a total of 60 strands total for the outer ring. I really enjoyed this part of the process, it was therapeutic in a way and was kind of nice to do after the kiddos went to bed and the house was quiet.
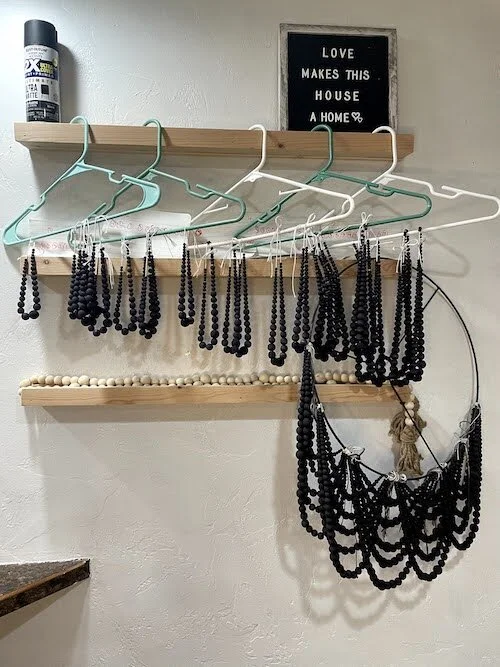
I began stringing my little life away and organizing the strands together on hangers like this:
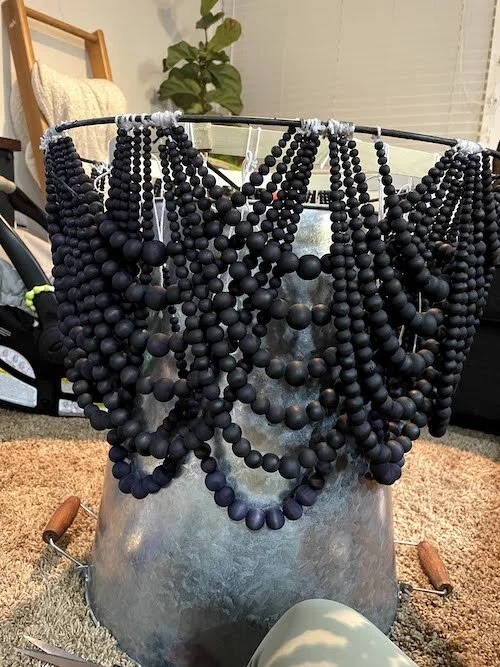
If your measurements differ from mine I would start hanging them on your outer ring as they are getting finished so you can adjust how many strands you will need. Remember to tie them in an overlapping pattern, aka one side of all of the strands in that “swag” should be “over” the previous swag and “under” the next swag. Does that make any sense? For example, the left side of my strands are on top of the previous swag and the right sides are tied under the next swag. (I am referring to a “swag” as the collection of each of the different strands that will be tied as a unit on the light, so one strand is a strand, all 5 strands is a swag.)
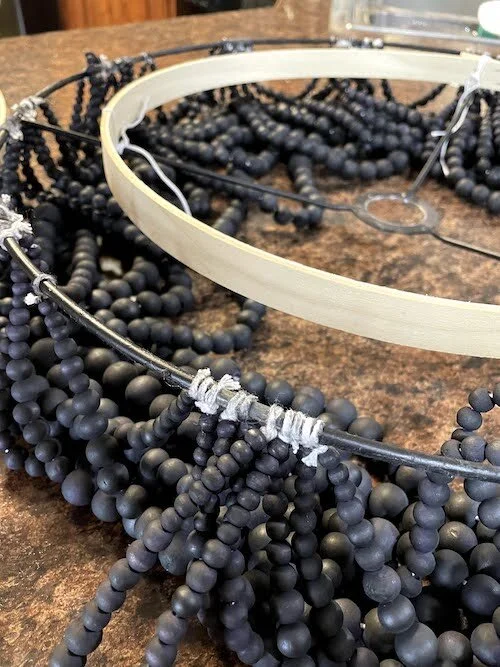
I double knotted my strands but was careful to not make them too tight so I could adjust them as needed. Once your outer ring is completed attach your inner ring (mine is a 14” embroidery hoop) and complete the same process following the inner ring pattern. I was pretty much over it at this point and did not want to buy more of the smaller beads so I opted to leave about 5 ish extra inches on both sides of the strand when tied on the light. So the empty string of the inner ring strands is behind the outer ring beads and is not even noticeable! Again, please adjust this to your specific light!
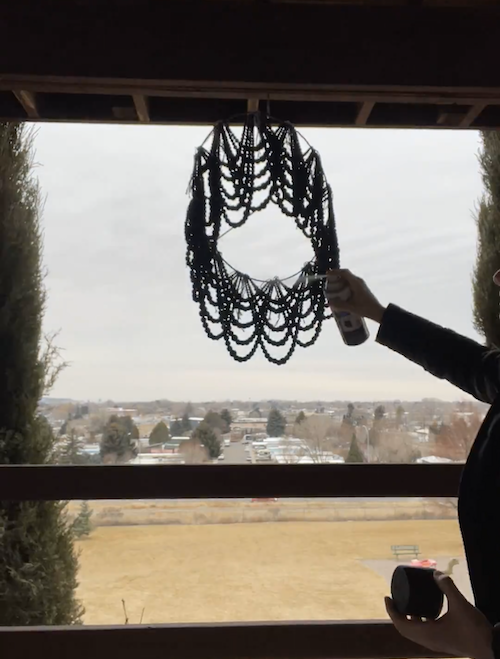
Once all beads are in place, spray paint away! I had a hook on my deck that was helpful with this. Make sure you spray at all angles so you cover all of the dark blue on the beads as well as the white string. After spraying I dabbed a little E6000 glue on each knot to make sure they didn’t come untied.
I had to cut down my 24” embroidery hoop to make it fit around the outside of the outer ring. I saved the second hoop of the 14” hoop so I could place it over the now black inner ring. I love the look of the natural wood paired with the black beads.
Next I used super glue, wood glue, apoxie sculpt (not super necessary), and clamps to attach the wood colored hoops to the outside of both of the rings! I let them sit and dry for 24 hours.
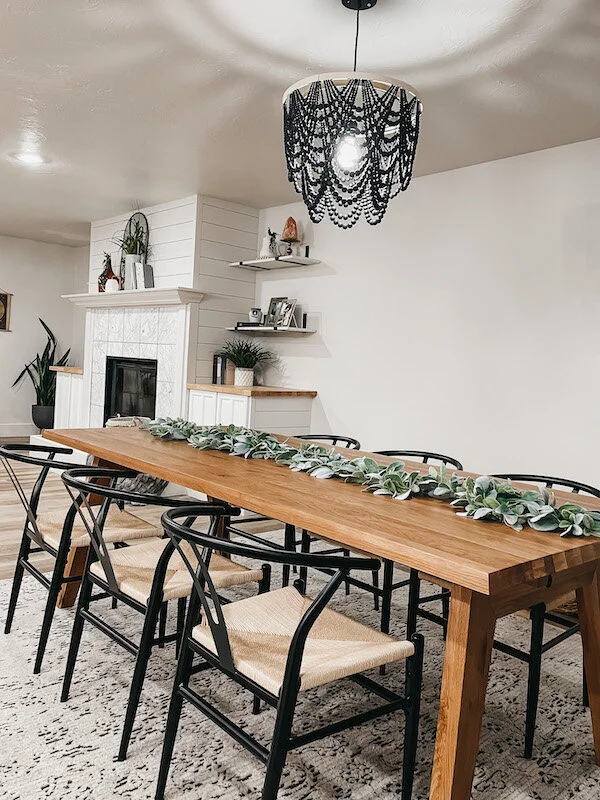
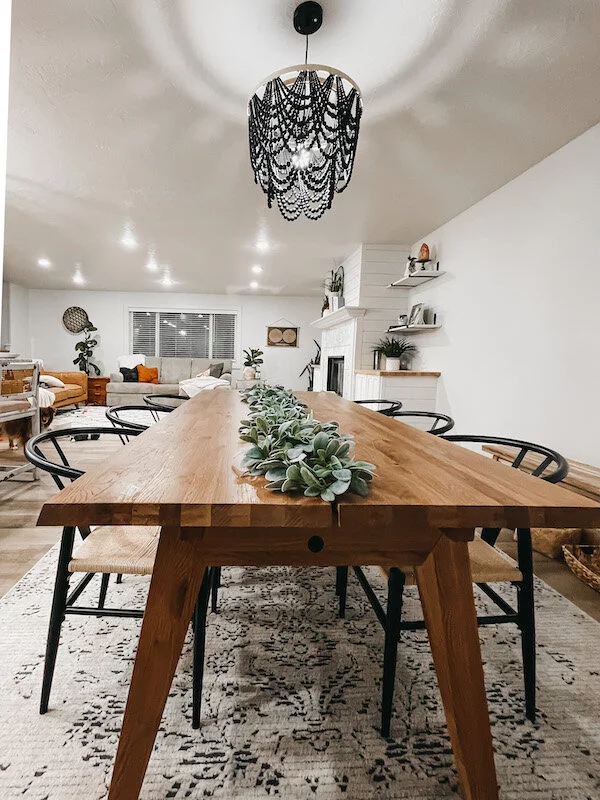
Then I attached my hanging hardware and hung the light up in the dining room of the current home that we flipped and are living in!
Total cost for me was roughly $75.
What would I do differently next time? I would either thrift an existing light fixture that I could string beads from or I would use two embroidery hoops similar to the tutorial from The House That Lars Built.
I would totally do this project again, I love how it looks above my table and chairs!
What do you think of my finished black DIY beaded chandelier?
Ready to love where you live?
Brandon and Jess DesFosses
Southeast Idaho Realtors
(208)241-6205
HomeSmart Premier Realty

